
diy
Pumpkin Pie Recipe
Wednesday, November 22 • california, cooking, diy, how to, quick guide, recipe, san diego, san diego blogger

Pumpkin Pie
1 can of pumpkin (15 oz)
1 can of sweetened condensed milk (14oz)
2 large eggs
1 and 1/2 teaspoons of cinnamon
1/2 teaspoon ginger
1/2 teaspoon nutmeg (plus a little extra because I spilt it in the mix lol)
1/2 teaspoon salt
Pillsbury pie crust (no, I didn't make my own crust)
------------------------------------------------------------------------------------------------------
1. Preheat oven to 425
2. Whisk together the pumpkin, condensed milk and eggs (it is very easy if you throw it all into your Kitchen Aid on level 3, like I did).
3. Stir in the spices - you can add more if you want your pie to taste a certain way.
4. Lay pie crust in the dish and pinch sides to create the crust design.
5. Pour pumpkin mixture into crust.
6. Bake at 425 for 15 min. Then, lower temperature to 350 and bake for another 30 min or until the pie is baked all the way through.
7. Serve with a dollop of cool whip on the top and a glass of milk on the side!

I hope you all have an amazing Thanksgiving full of happiness!
HGTV Dreams Come True
Wednesday, May 24 • advice, diy, how to, interior decor, question and answer, quick guide, room tour

About a month ago, my husband painted a wall in our house and I posted this photo on my social media pages. I received so many sweet comments and had quite a few questions about it! So, I wanted to do a little FAQ on how we painted our walls...
1. What color is that?
The current color on our wall is the color "Anonymous" by Behr (can be purchased at The Home Depot). We also tried "Flannel" by Behr but it was a little too light for us. Flannel is between white and anonymous, which works well if you don't have a lot of natural light in the room. We also tried Georgian Bay by Sherwin Williams but we hated the color. Originally we thought blue would look good but it was definitely not our style!
2. How did you tape off the wall?
We originally used Frog Tape but found that it does not work well with textured walls AT ALL. So, we went back to Home Depot and picked up 3m blue tape. The blue tape worked a little better but it was still not creating crisp lines like it should. Finally, we went back to Home Depot and picked up an angled brush. My hubby ended up painting all of the lines by hand! It took him quite awhile but it was so worth it when we ended up with perfectly straight lines.
3. Where did you get your couches?
We actually purchased our couches from a sample sale so they are not yet on the market. However, they are the brand Michael Nicolas and Mor Furniture should be selling them in the near future!
4. Where did you get your "adventure awaits" sign?
We got our sign as a wedding gift! I'm not totally sure where it came from but I have seen some similar signs on Etsy and in Hobby Lobby.
5. How many coats of paint did you use?
We did two coats. The paint we purchased was the Behr Marquee so it was only supposed to be one coat coverage, but we preferred the look of two coats.
6. Can you paint even though you're renting?
Yes!! We can paint any wall we would like as long as we paint it back when we move out. Our landlord will either give us their paint color or we can have them to paint it back. *Make sure you check with your landlord before you paint a wall because some places have a list of approved colors that you can actually leave on your wall when you move out.*
7. Any tips?
Use a 3/4in nap foam roller when you paint. Also, buy a plastic paint tray because they are easier to clean. Have patience (or a husband who has patience)!
Let me know if you have any further questions, or have redecorated your house recently, in the comments below!

Let me know if you have any further questions, or have redecorated your house recently, in the comments below!

House Tour: Part 2 - The Kitchen
Tuesday, July 12 • diy, fashion, florida, girly, interior decor, milso, photography, quick guide, room tour, round up, southern belle
This room is my favorite in the entire house. It is what
sold us when the realtor was giving us a tour: the kitchen! Backstory: Daniel and I are constantly in the
kitchen and love to have wide-open spaces, lots of storage and plenty of
counter space. We also like black appliances (yes, we are a little weird and
picky about kitchens). And this kitchen has absolutely everything we were
looking for.

House Tour: Part 1
Wednesday, June 15 • diy, engaged, fashion, girly, interior decor, milso, photography, quick guide, review, room tour, round up, southern belle, tips
At the beginning of the month, Daniel and I signed a lease for our first house together. We were able to move in right away, which was very nice after living in the Navy Gateway hotel for 12 days. Moving and loading/unloading the truck was the worst; however, unpacking our boxes in our new home was the best! I’m slowly getting everything put together, so these next few posts will be a series of “our new home, room-by-room.” I’ll try to post every Wednesday so keep an eye out for the rest of the tour. For today: the master bedroom and my closet (we have four closets so I’m going to feature one of the four).

The bedroom is a bit small, but has enough room for our bed and nightstands. Yes, those are Build-A-Bears that Daniel and I made for each other: “Jedi Steve” and “Princess Lillie.” The cubes that we use as night stands are actually from Walmart. They are made with strong composite wood and t-design which makes for a sturdy structure. They also look very nice. We chose the espresso finish because we found that it goes well with any color of bedspread.

While attending college at WSU, I purchased this New York City canvas print from Ross. Since it has traveled with me from Pullman to Spokane and now to Florida, it was the first picture to be hung in our new home here, in Florida.
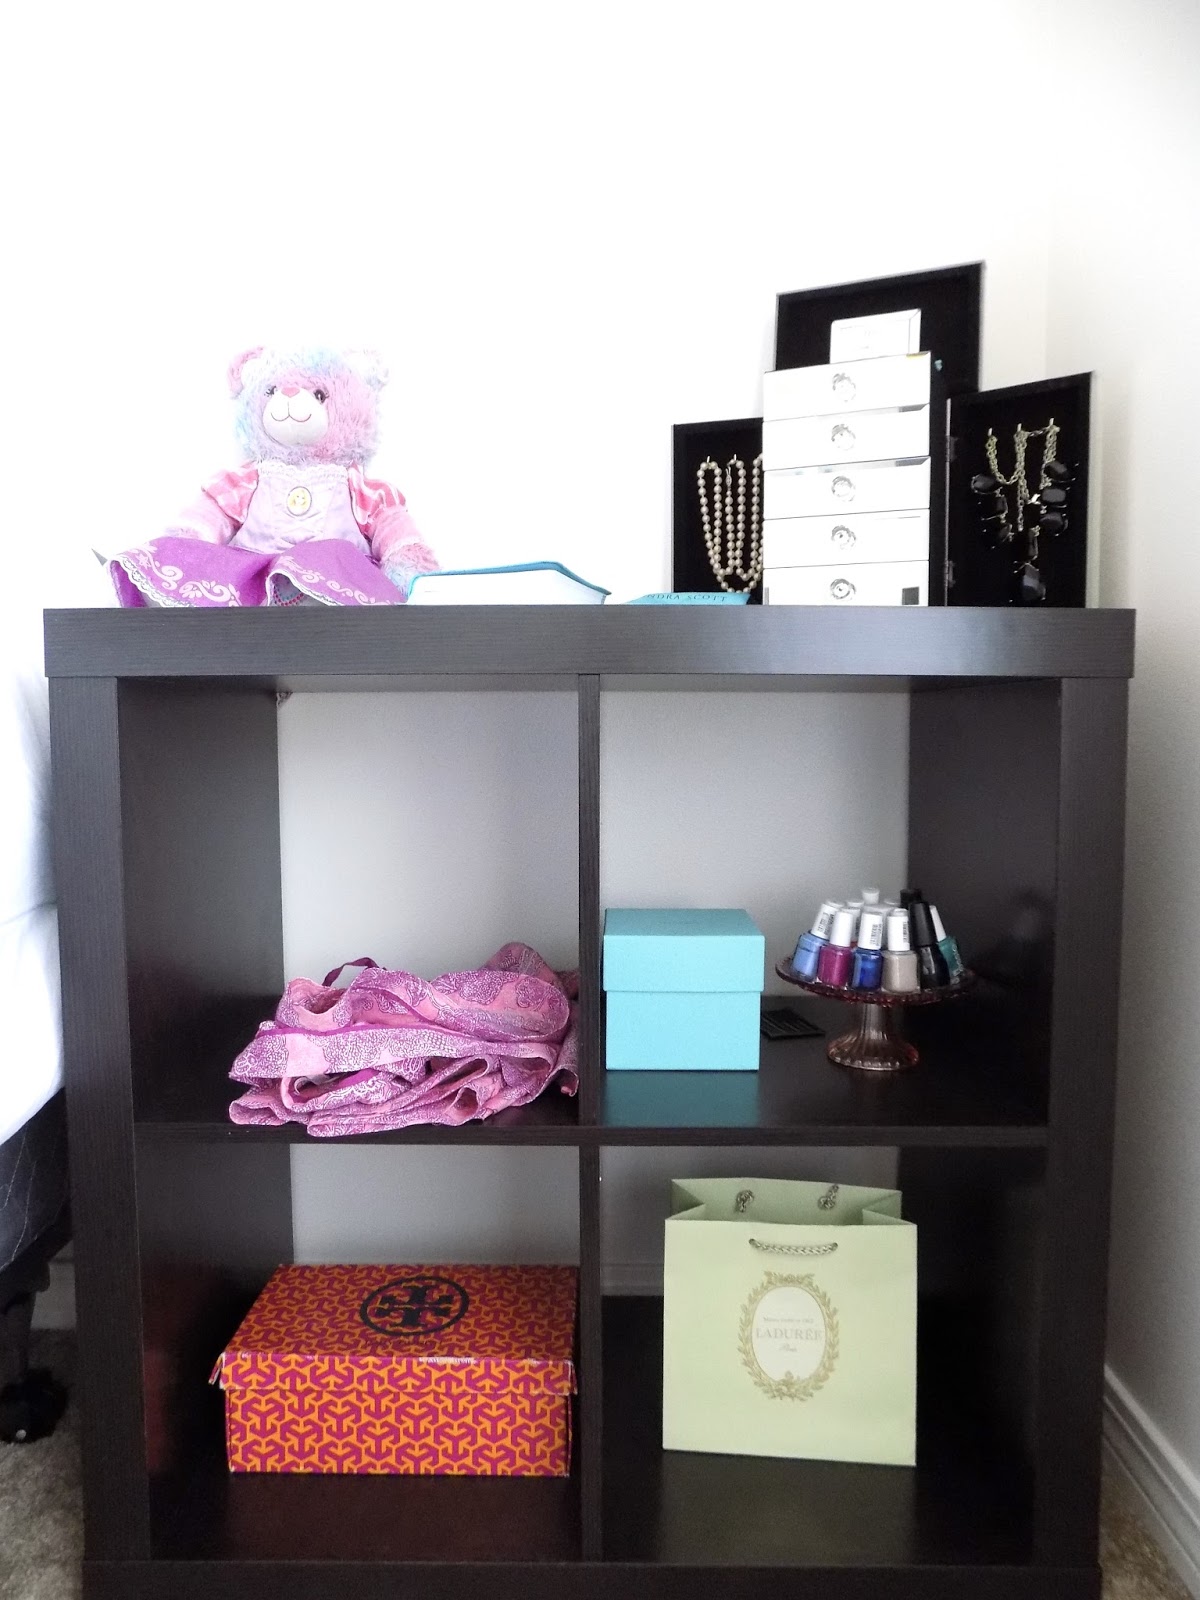
The little details – pajamas // nail polish on a cake stand // shoebox full of electronic chargers // Lauree bag from a family trip to New York City // jewelry box // Build-A-Bear

One of the best parts of our bedroom: a walk-in closet. I’ve never had a walk-in closet so this is pretty amazing to me. On the left, I hung all of my work pants and skirts; in the middle, I have color and season coordinated the clothes; on the right, there are more of my work clothes and Daniel’s uniforms. I definitely have a “Pacific Northwest” closet with neutral colors. What can I say? Once a Washingtonian, always a Washingtonian. (: However, that being said, I am slowly adding some “Southern” personality to my closet.

While I was wandering through Target (one of my favorite pastimes), I found these really cool hangers. I love them because I can hang my favorite pairs of shorts and hook them together so they don’t occupy much room in my closet. These will also work well for work pants so I will be making another trip to Target soon!

Finally, in the corner I have my dresses and a few sweatshirts. I left most of the sweatshirts boxed-up since I will rarely need them here but I did pull out my favorites to hang up.
Well, I hope y’all enjoyed the first of my house tour! Let me know, in the Comments section, if you want to see anything else in the bedroom/closet. Check back next Wednesday for the next episode. Until then, have a good week!

How to Make a Gold Monogram in 10 Steps
Wednesday, February 17 • diy, girly, gold monogram, graphic art, how to, monogram, quick guide, southern belle
Have you always wanted to know how to make your own gold textured monogram photo? Well I did.. so I decided to figure it out and do a tutorial for everyone else!
1. Search Google for the "monogram kk" font and click on the first one from www.dafont.com. (P.S. Dafont has the best free fonts!)

2. Click on download on the right side of the webpage.

3. Once it is downloaded, open the file and double click on the "monogram kk sc.ttf" file. When you do this, you will need to follow the on screen instructions to download the font. This is how I did it on my Mac but it is a very similar process on a Windows computer!

4. Go to www.picmonkey.com (my absolute favorite place to edit and create photos) and hover your mouse over "design" at the top of the page and click on square. This will take you to a screen that looks like the photo below. From there, click on "Tt" and then "yours" under add text. You will then select the new font that you downloaded and click "add text."

5. Type your initials into 3 SEPARATE text boxes, set each initial size and then move them together. I set my initials to the sizes 450, 720 and 450. You can play around with the font size to create your favorite look! Also, if you aren't aware, monogrammed initials usually go: first, last, middle or wife, last, husband.

6. You will then need to click on the button in the grey bar above your picture that looks like 2 sheets with a down arrow. When you click on it, you are combining the layers and saving your initials the way they are (so make sure they are perfect before you combine).

7. Go back to Google and search gold foil (or whatever color you want) in images. For this project, I used the first one in the second row. Make sure you save the Google image to your desktop or downloads folder.

8. Under the overlays tab (butterfly picture) click on "your own." Then upload the gold foil photo you saved in the last step. Expand the image to cover your entire monogram and then select "add" under blend modes. From there, you can move the photo around to get your desired look. Feel free to play around with different colors and shades to make it unique to you!

9. Save your monogram by selecting "save" in the grey bar at the top of your canvas.

10. Set your monogram as your background photo on your computer, print it out and frame it or just look at how pretty it is! Please note that this font cannot be used for resale so you cannot sell any monograms that you have created using this method.
If you have any questions, feel free to contact me! Thanks for reading my blog!

Subscribe to:
Posts (Atom)
